Your Cart is Empty
FREE SHIPPING | EASY RETURNS & EXCHANGES

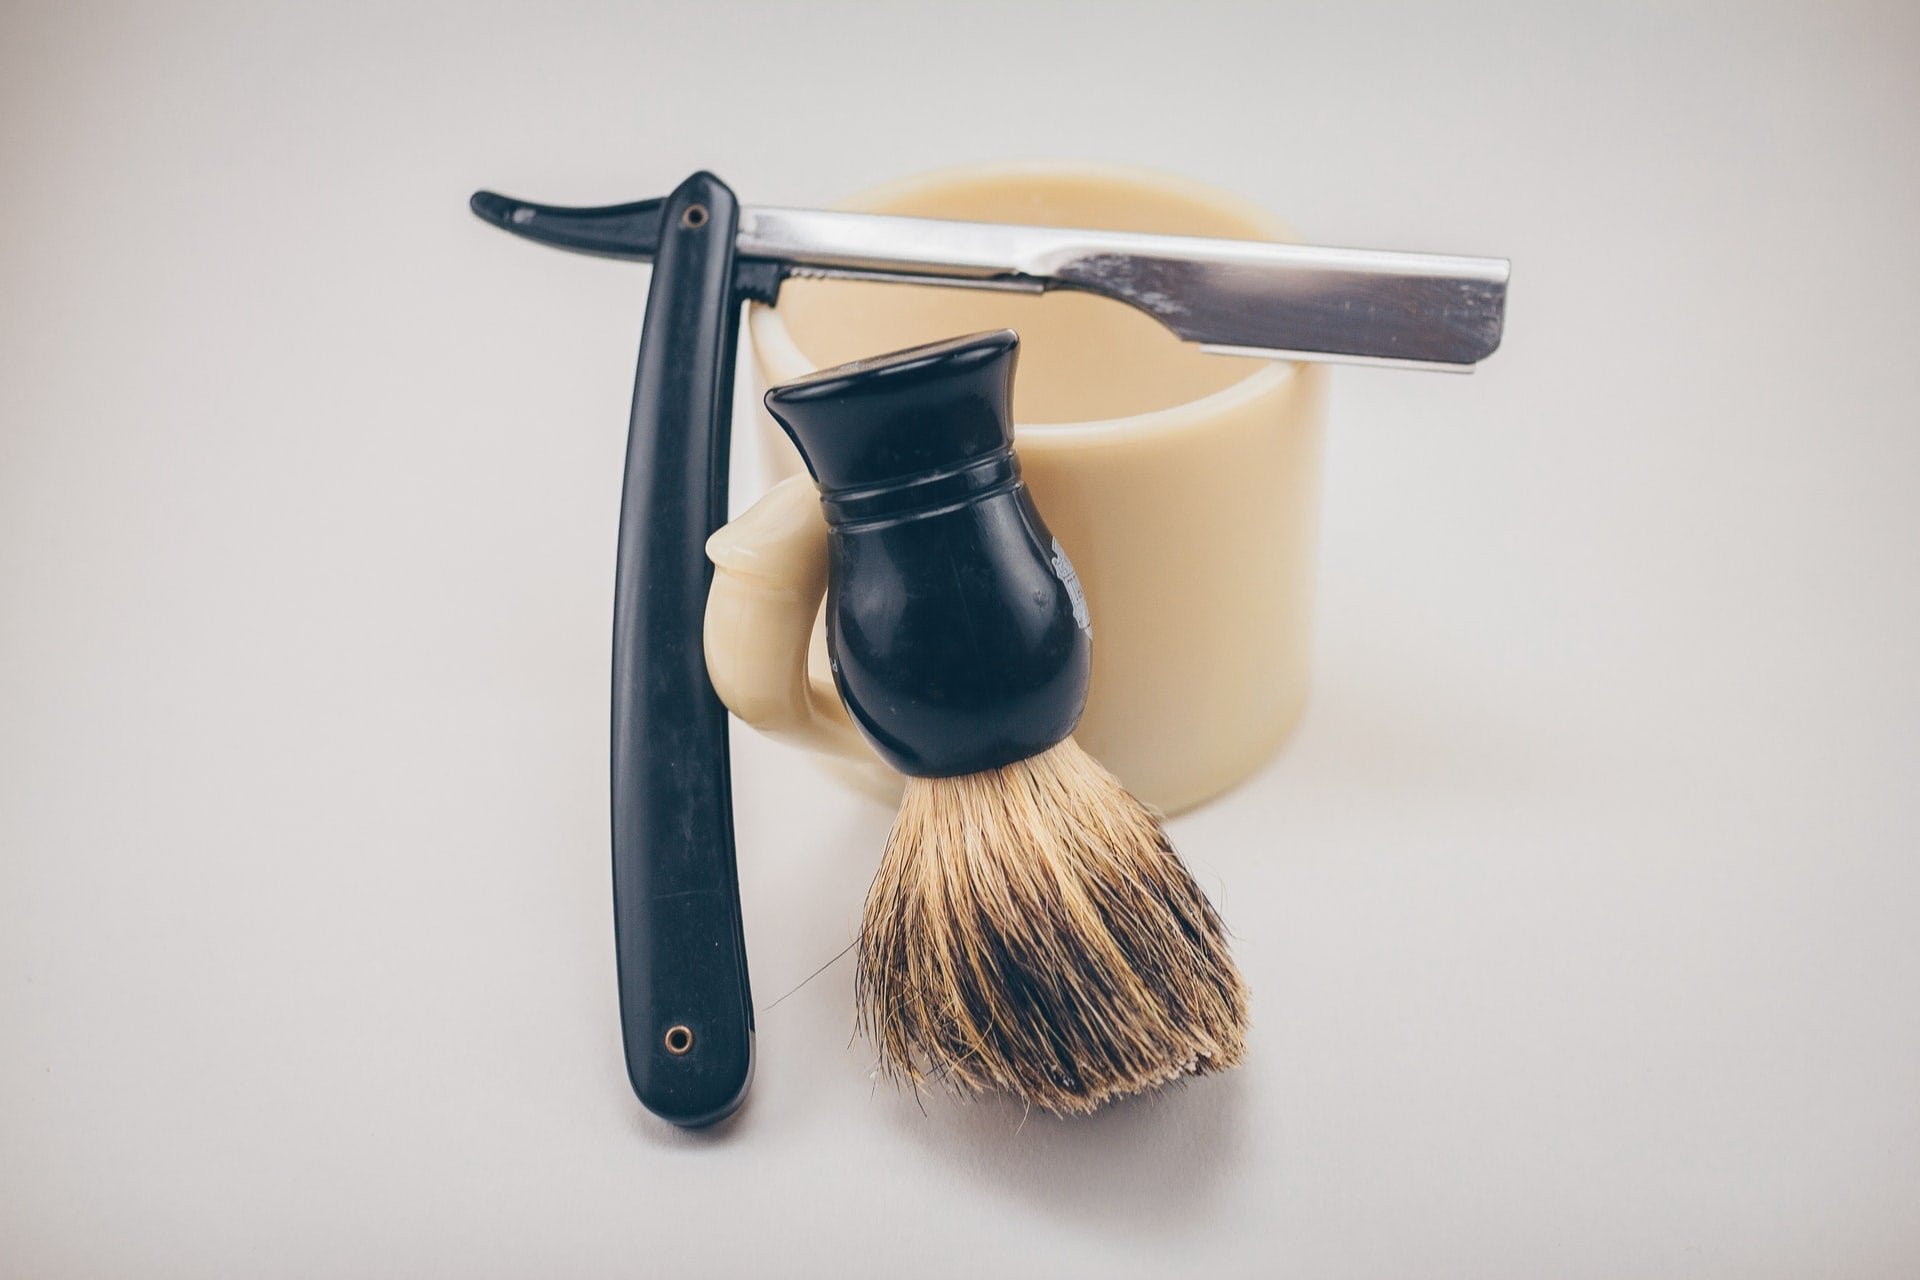
It is very cool and best when you get yourself shaved with a straight razor and you sharpened that razor yourself. Cool, right!
If you hone a straight razor, then it means that you are doing an act of sharpening your razor.
You will do this by removing steel for making a new edge on the blade. Remember that it is quite different than stropping, which will re-align the edge between shaves.
You can consider honing the straight razor the pinnacle of sustainability.
If you have certain gears as well as skills, then you can keep the blade sharp and in the best status.
It can be intimidating for beginners, but sharpening a straight razor is very simple and straight-forward than knife sharpening. Sharpening is not there for replacing honing regularly.
If you give care in maintaining the blade, then it will be easy for you to sharpen the razor. But if you will neglect this thing, it can be difficult for you when you will go to tune it up finally.
Similar Articles & Collections

It is the edge’s portion that you will be sharpening. A bevel will be present on either side of the cutting edge.
Carefully observe the polishing that you will do with the bevel while honing.
You must keep the bevels a consistent width along the edge, and the same width together. If you will grind more on a given section, then your bevel will get wider.
It is a steel’s rough patch and it forms when you do sharpening to something.
When you grind, the burr forms on the blade’s opposite side from where you did grinding and will tell you that the edge has met the opposite side.
Getting a burr is very important during new edge’s, but you should also remove it after every stage of sharpening (when you generally go from a coarser grit stone to a finer one).
It is a waxy paste that contains fine grit and it ranges from 13,000 to 50,000.
This does not grind steel the way a stone will do, but instead, it buffs the steel’s surface to a mirror shine and grabs onto burrs that are hanging on the edge of the blade.
It is a must for sharpeners who are serious.
It is an act in which you will remove the burr. It smooths the edge hence this will cut correctly.
You can do this in various ways. You can do the rough deburring on the stone, by passing your razor back and forth along the surface as if you’re honing.
A suede strop that is covered in chromium oxide is used generally because it can grab the steel as well as de-burrs in a more effective way. You should do the final de-burring on a strop.
it is abrasive that makes sharpening stones work. The grit number (#1,000, #8,000, etc.) shows its size, and hence the edge it’ll give.
Low numbered grits are big, cut fast and leave a rougher edge, while high numbered grits are smoother and work more slowly. like sandpaper.
The razor edge’s end close to the handle.
Many people get confused with these words. Honing is similar to sharpening, which is the act of grinding steel to a fine point.
In the razor globe, the term honing is used more often.
It is an act in which you will glide your razor across the stone in one direction, and then back again on the opposite side of the edge.
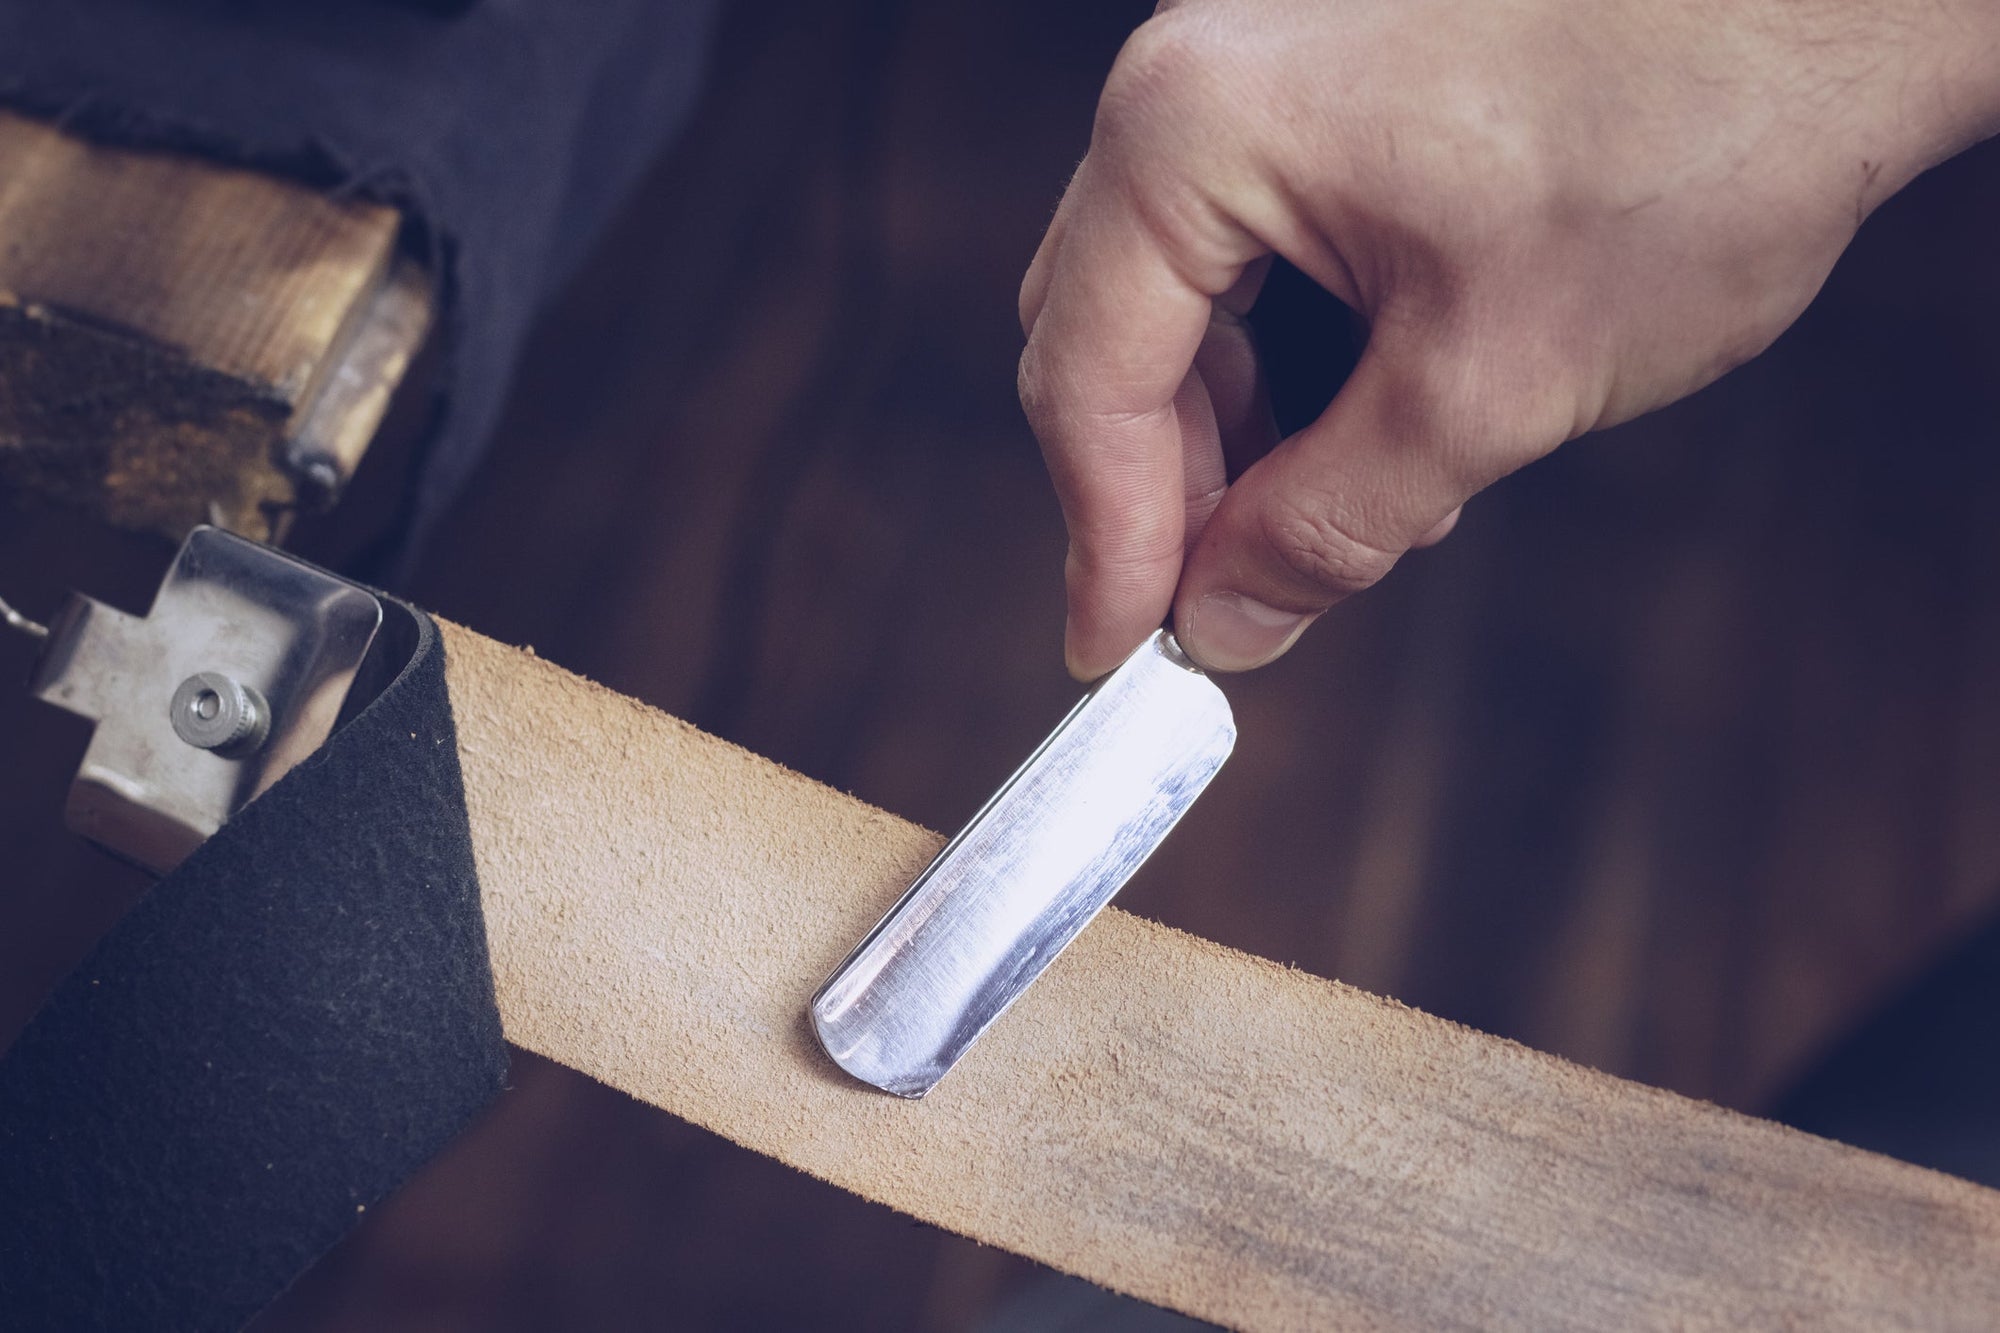
It is a leather piece that is used to deburr and polish the edge. Strops are used on nearly every type of blade as a final polishing step.
Any straight razor owner needs to have a traditional flexible strop at the least, but you can consider getting a paddle strop and covering the rough suede side in chromium oxide, to help in polishing your blade.
The tip of the razor, farthest from the handle.

The basic method of honing (sharpening) a straight razor is easy.
And that is it. The motion of honing is the same as stropping, but with the edge leading instead of the spine. Now you will pay attention to the dos & don’ts:
This’s the basic technique. Stick to this, and practice it.
Do a couple of many strokes like this on your finest stone to get it down-pat.
Doing it on a fine stone will make sure you’re not shortening the life of your razor while you practice.
Now that you have got the basic technique down, we will talk about sharpening stones now.
If you will hone razors more, then you will better know what treatment that your blade needs.
Clean the blade, and then strop it, and then get it tested. Does it work nicely? Is it cutting hair fluently, or is it dragging?
Is it scraping the skin or leaving it without any effect? Try to shave with it if you want to get a feel for your results.
If the blade will shave in the way that you want, then it is great. You can get back to shaving.
If you didn’t like the results, do trouble-shooting:
Strop the blade on chromium oxide. If there are any leftover burrs that are produced from honing, then they can make the edge rougher than actually it is, so you should get rid of them.
If you are again not contented, then you should go back to 12,000 grit, and then strop, and try again.
In this way, work back to the end until you achieve the result that you like. Straight razors are fine blades and it is best to work conventionally unless you get any issue, instead of starting on 1,000 grit always and grinding of years of steel each time you hone a blade.
After trying everything and still you get results that you don’t like at all, then this is the time when you will take a step down to a rough stone and remove the more steel.
With a lot of practice, you can develop the habits that can work for you. Some people strop between each stone.
Some people use a microfiber cloth to check for small burrs that snag on the cloth’s fibers. Do different experiment what you feel right, and do not hesitate to get help.

Comments will be approved before showing up.